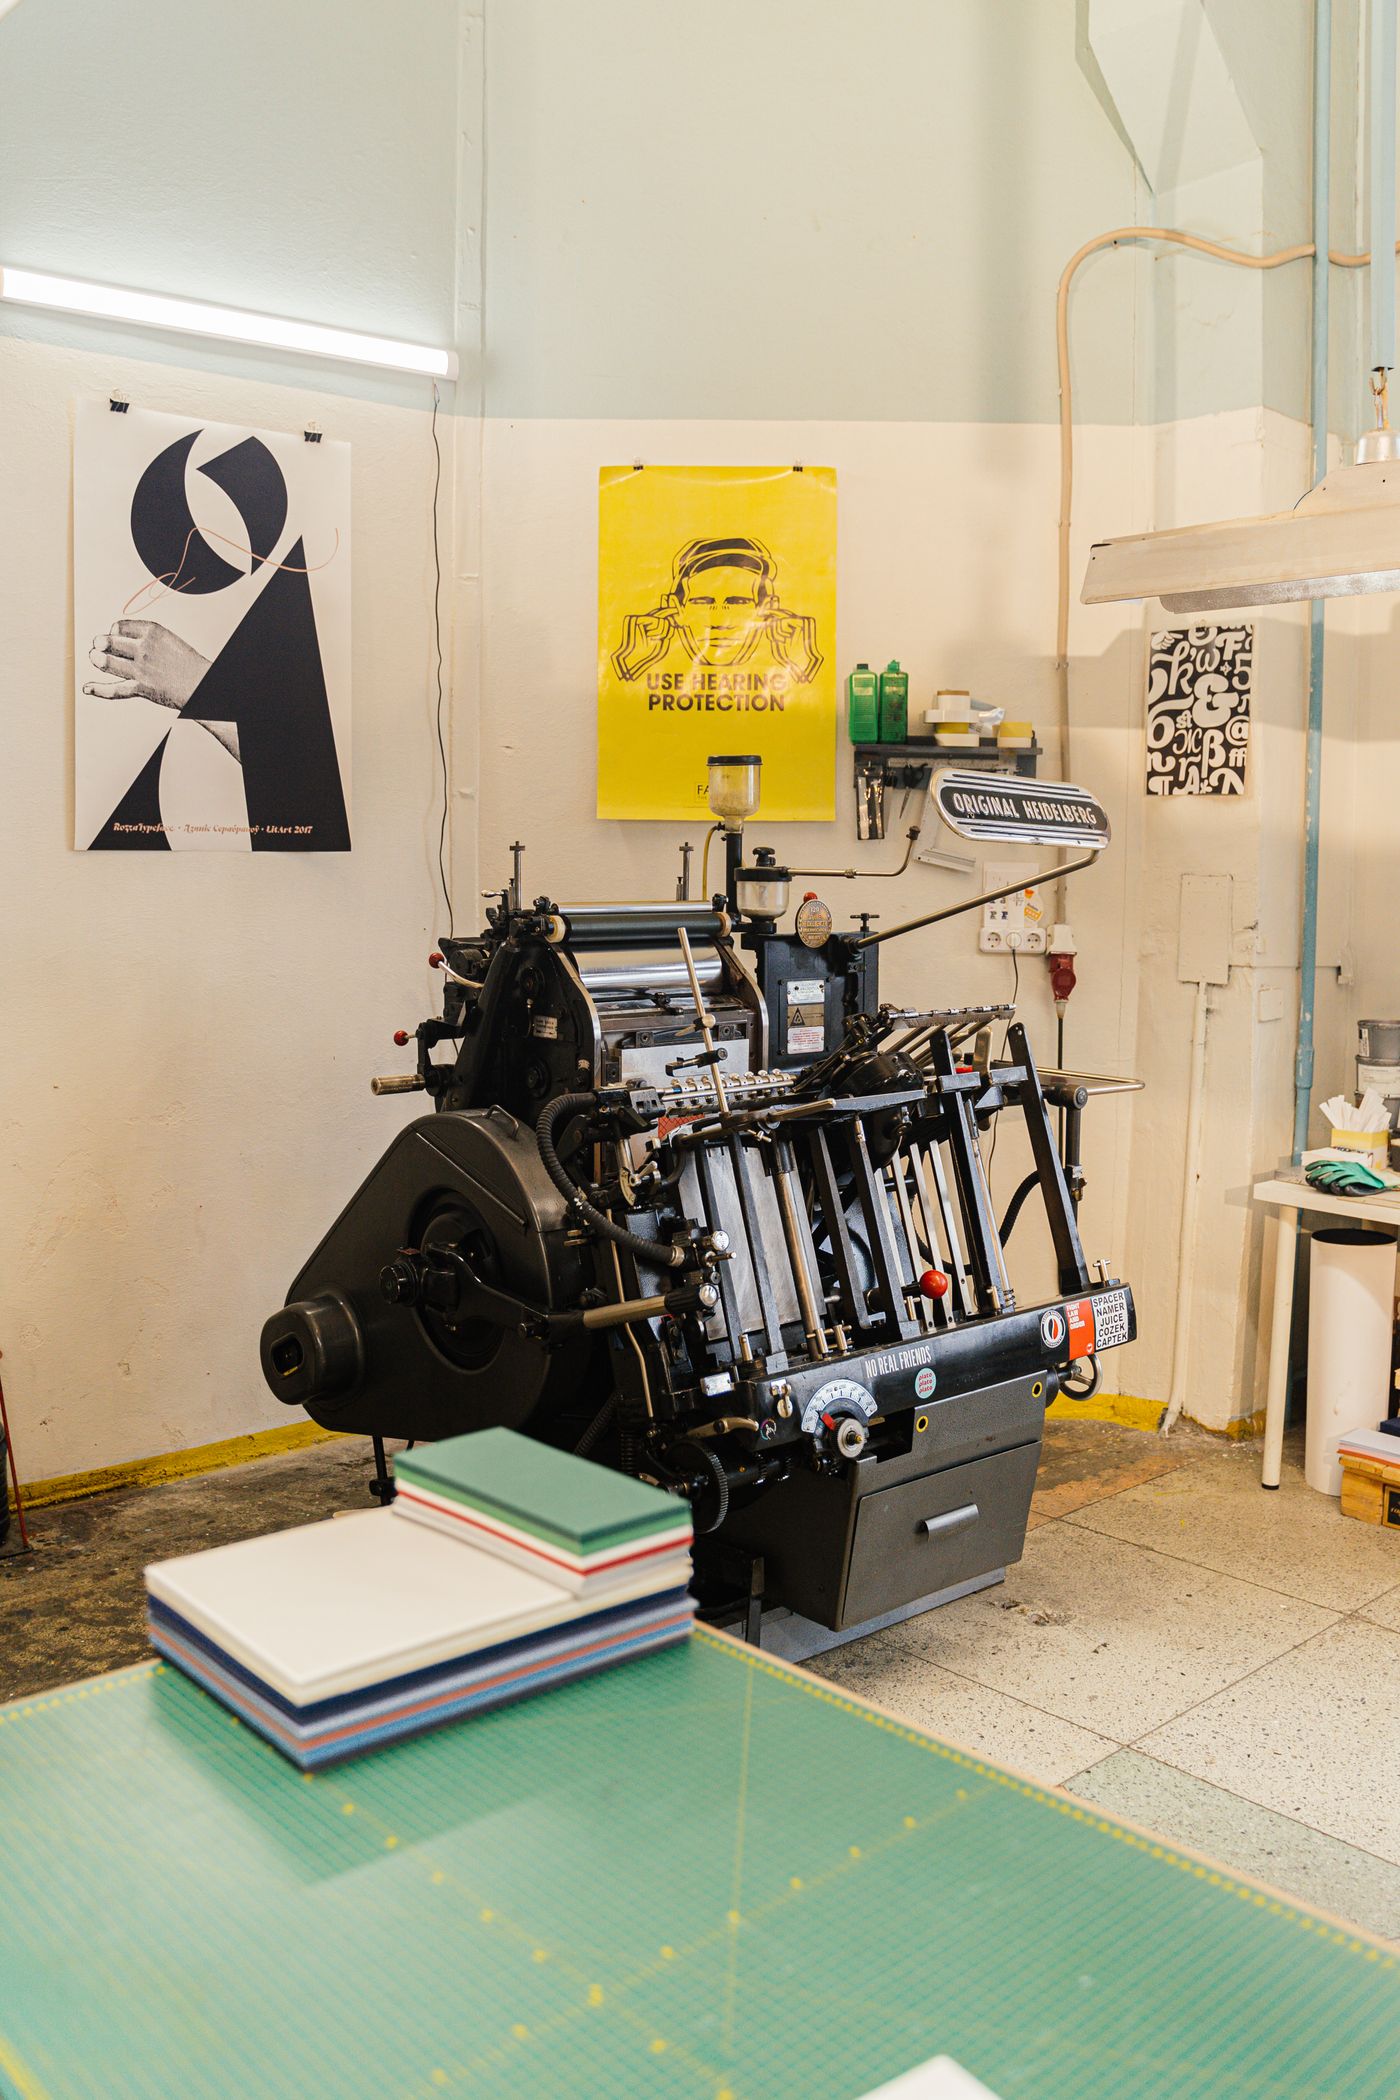
ILLUSTRATIVE STUDIO PHOTOGRAPHThe edge is part of the design.
Bleed and trim marks describe different things. One extends the artwork; the other indicates the cut. Understand both before preparing an edge-to-edge layout.
Understand bleed ↗From the first pixel to the final sheet. A clear, useful place to get to know the language of print.
Explore the index ↗A starter glossary for the things
between an idea and a printed page.
Carry edge-to-edge backgrounds into this extra area so small shifts during trimming do not reveal a white border. Ask your print provider how much bleed the specific job needs; there is no single setting for every production process.
Read the source: Adobe ↗CMYK describes color using ink rather than emitted light. The result depends on the printing conditions, including paper, ink and color profile. Ask the print provider which profile and file settings to use before converting your artwork.
Read the source: Adobe ↗Photographs are commonly raster images. Enlarging one spreads a fixed number of pixels over a larger area, which can make its pixel structure visible. Check the image at the size it will actually be used, rather than judging it only by its file extension.
Read the source: Adobe ↗RGB is used for screen imagery. Some colors you see on a display cannot be reproduced with standard process inks, so screen appearance is not a promise of printed color. Confirm the intended output and conversion workflow with your print provider.
Read the source: Adobe ↗These marks identify the intended finished edge. They are different from bleed, which is artwork extending beyond that edge. Follow your print provider’s instructions for whether marks should be included and how the artwork should be supplied.
Read the source: Adobe ↗Vector shapes can be enlarged without exposing a fixed pixel grid. This makes them useful for logos and illustrations that appear at many sizes. A design can combine vector shapes with raster photographs, so inspect all of its parts before export.
Read the source: Adobe ↗No matching terms. Try another keyword or choose All terms.
Two useful ideas to take
into your next project.
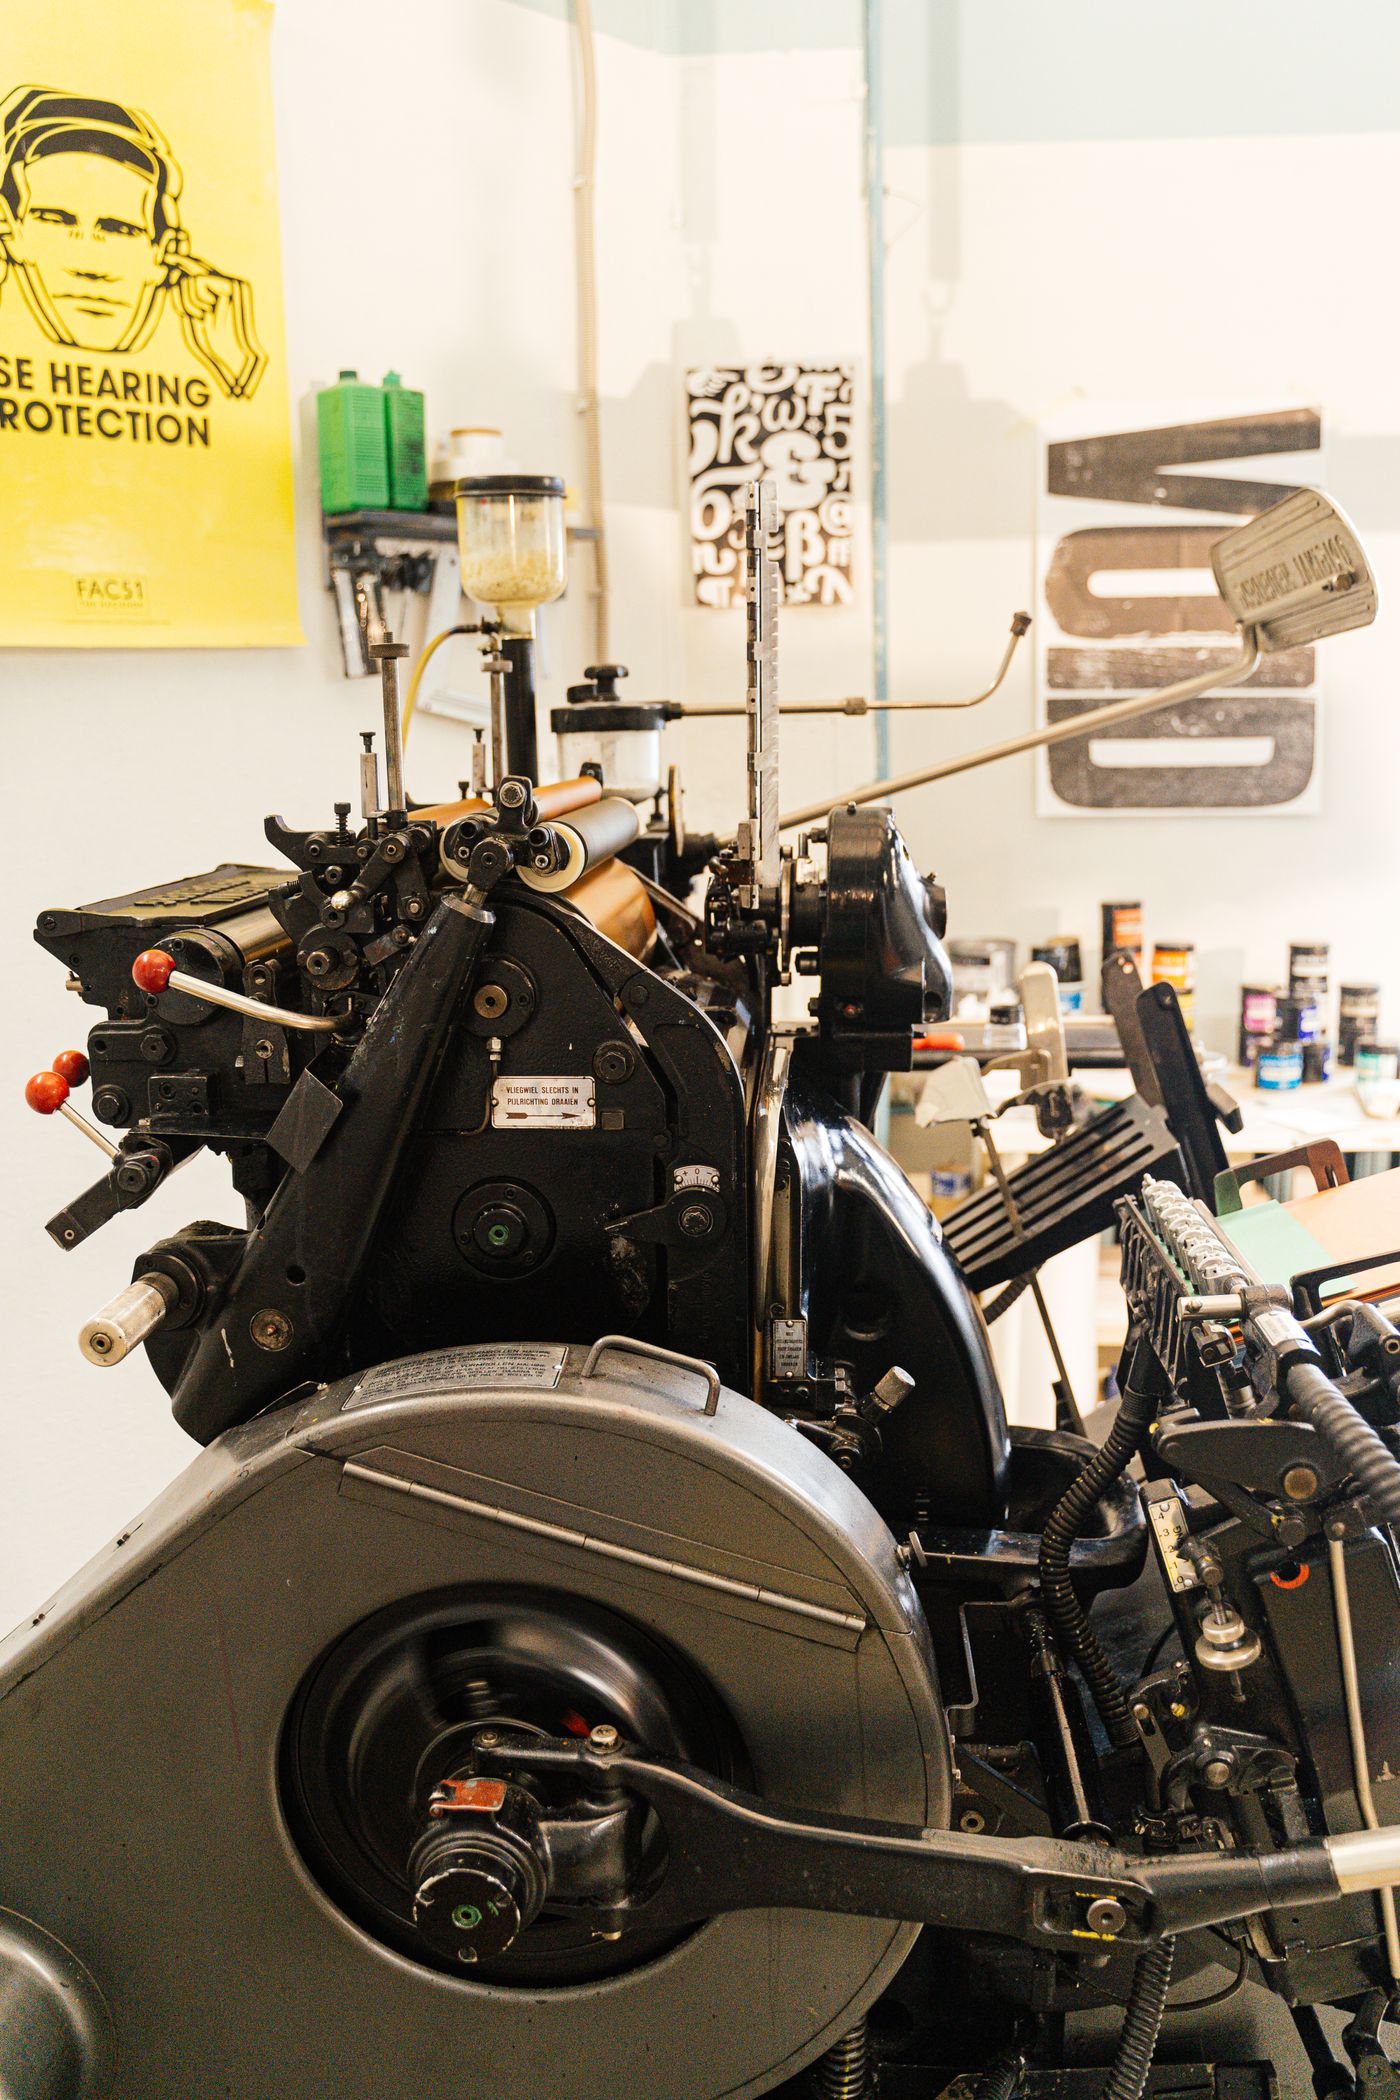
ILLUSTRATIVE STUDIO PHOTOGRAPHBleed and trim marks describe different things. One extends the artwork; the other indicates the cut. Understand both before preparing an edge-to-edge layout.
Understand bleed ↗
ILLUSTRATIVE STUDIO PHOTOGRAPHLight and ink reproduce color in different ways. Ask about the intended output and color profile before treating a screen preview as a print promise.
Get to know CMYK ↗A simple reminder list before you send a file. Your print provider’s specifications take priority.
Your checks are remembered in this browser.
IMPRINT is a small reference for people who make things. Start with the basics, follow the sources, and take a little more confidence into your next print project.
An independent introductory guide. References link to their respective publishers.